In today’s blog, we’ll be discussing the Amazon Web Services (AWS) CLI, which we can use to do an array of tasks by the help of our command line!
![]()
Versions of the AWS CLI
Now, before we get started - we’ll go over the two versions of the AWS CLI currently present - namely, V1 and V2. As the versioning suggests, V2 is simply a modified, functional, and better version of it’s older self, the V1. Though if you’ve been using V1 or intend to use V1 for any particular reason, AWS still fully supports it (but also recommends that you shift to V2!).
Here’s a reference to Amazon’s own coverage of the two CLI versions. CLI Versions: aws-cli-versions
If you’ve previously been working on the AWS CLI Version 1, and your infrastructure is set on it - you can have a look at the migrations tab. AWS covers some of the breaking changes you’ll come across once you shift to V2. Here’s a reference to that page. aws-cli-migration
Installing AWS CLI
For this blog, I’ll be covering the AWS CLI V2 (let’s stay up to date peeps). Again, I’ll only be covering the AWS CLI Installation for Windows. If you’re a linux-geek or a MacOS peep, don’t worry. I’ll be sharing the link to the AWS coverage on these OS at the end of the blog!
Pre-requisites for Windows
The CLI only has two requirements. Here’s them:
- The AWS CLI version 2 is supported on Windows XP or later.
- The AWS CLI version 2 supports only 64-bit versions of Windows.
Installing on Windows
Amazon has a simple standalone installer which you can use to install the CLI easily. Neither do you have to install any dependencies nor do you have to meet any other pre-requisites. Here’s a link to the MSI Installer: msi-installer
Once you’ve downloaded the MSI installer, simply follow the on-screen instructions to install the CLI on your machine. By default, the CLI is installed to this file path: C:\Program Files\Amazon\AWSCLIV2
To test your installation, simply open a command prompt and run the command: aws –version. Take a look at my output below: (It’s two hyphens not one, darn Jekyll)
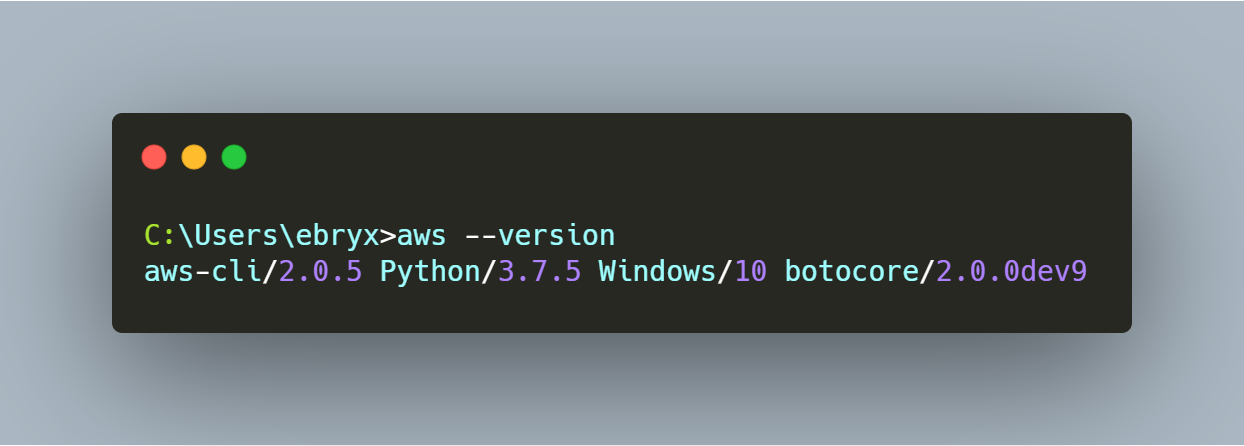
Is Windows unable to locate ‘aws’ or says it’s not recognized as a command? It’s probably because your Environment Variables aren’t set to include the executable in it’s path. So, you can use this guide by AWS to setup your AWS executable on the path. Here’s the link: aws-path-setup
Configuring the AWS CLI
Before you can start running your commands on the console, you need to configure your CLI installation to talk to AWS. This means, you’ll be configuring your AWS account to enable usage of the CLI. How do we do that? Let’s see!
Profiles
Profiles allow you to store multiple AWS account credentials as different sets of users. This way, if you want to run your command through one user, you can simply shift the profile and execute your CLI commands. If later, you wish to switch to a different user, you can simply switch the profile.
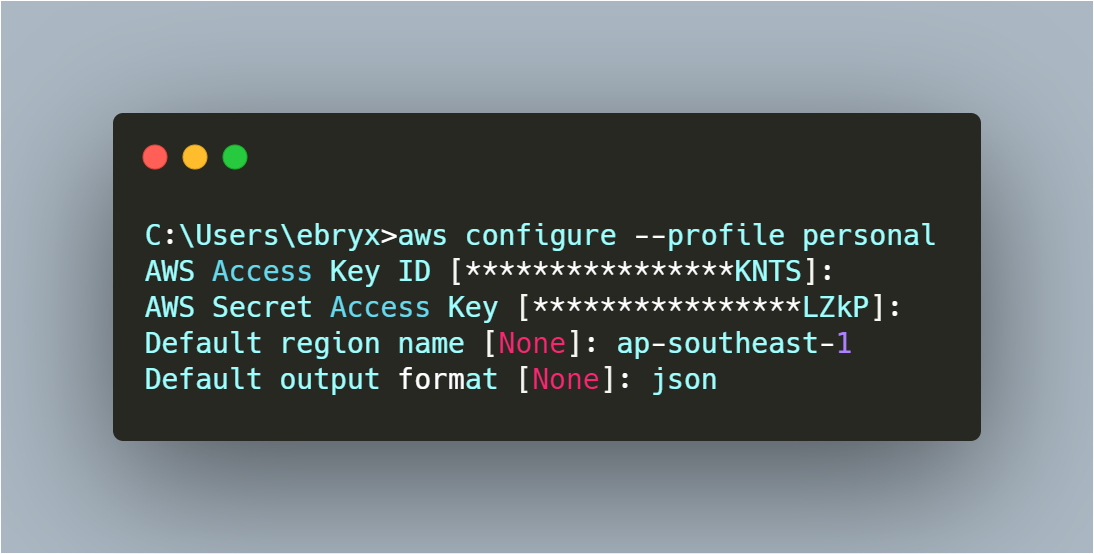
I’ll be setting up my personal profile on the AWS CLI. To do this, AWS provides the ‘configure’ command. It can be used in conjunction with the profile parameter to setup a new profile. Here’s how:

You’ll be entering values for these four fields (don’t worry if you don’t get all of them at once). We’ll start by entering the values for each one of these. The Access and Secret Keys are long-term credentials for a user which can be used to provide programmatic access or CLI access to a particular user without interruption. The secret key is like the password to your username. By default, the Secret Key is only shown once to the user and is then hidden for the remainder of the existence of that user. To get started, let’s generate a pair of credentials for ourselves. We’ll be using the IAM (Identity and Access Management) service of AWS for that.
Create User and Generate Credentials
Here are a few steps you can follow to quickly setup your user on the AWS console:
Head over to the AWS console, aws-console. Log-in to your root user account by entering the credentials (and the MFA code if you’ve setup multi-factor authentication - which you should!). You will be greeted to the AWS console once you’ve successfully signed in.
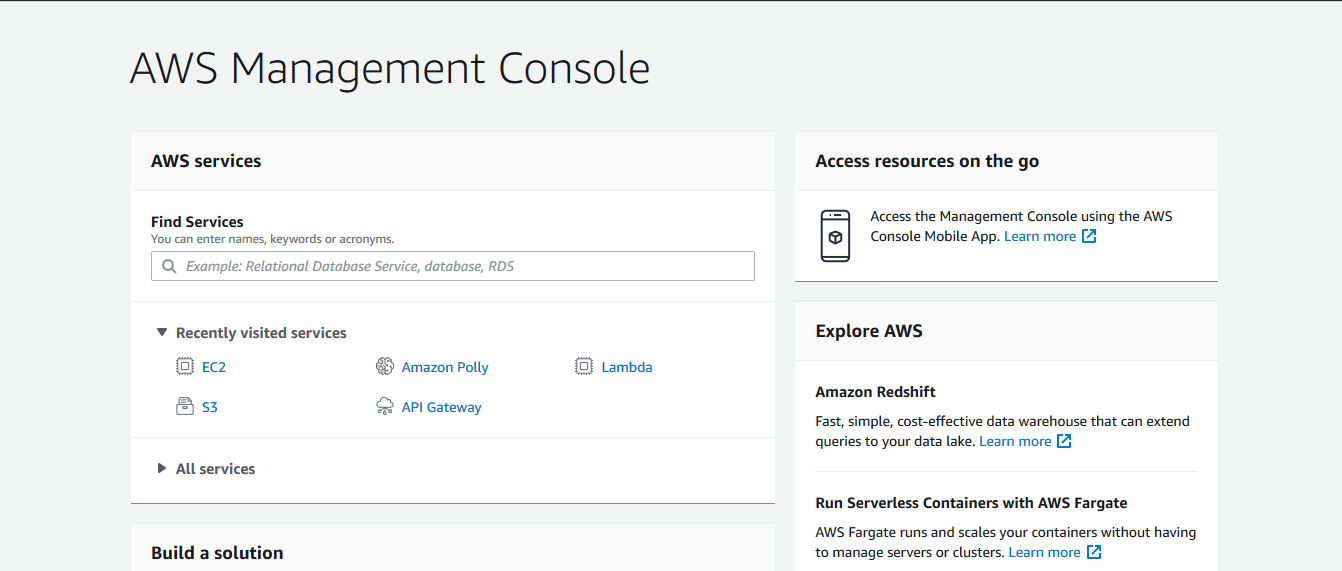
Next, let’s search for the IAM in the services section and head over to it. From the left pane, head over to the user’s section. You can skip this part if you’ve already setup a user and have your access and secret keys ready.
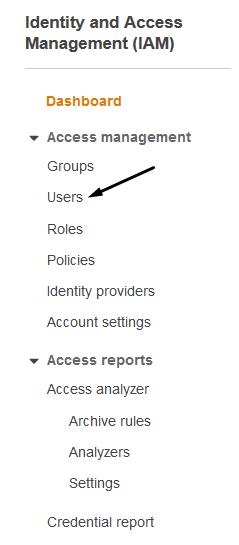
Click on ‘Add User’ to get started with the registration process:

Enter a user-name, and tick the ‘Programmatic Access’ option to enable your CLI usage. This is the most important step. Please don’t proceed without enabling this.
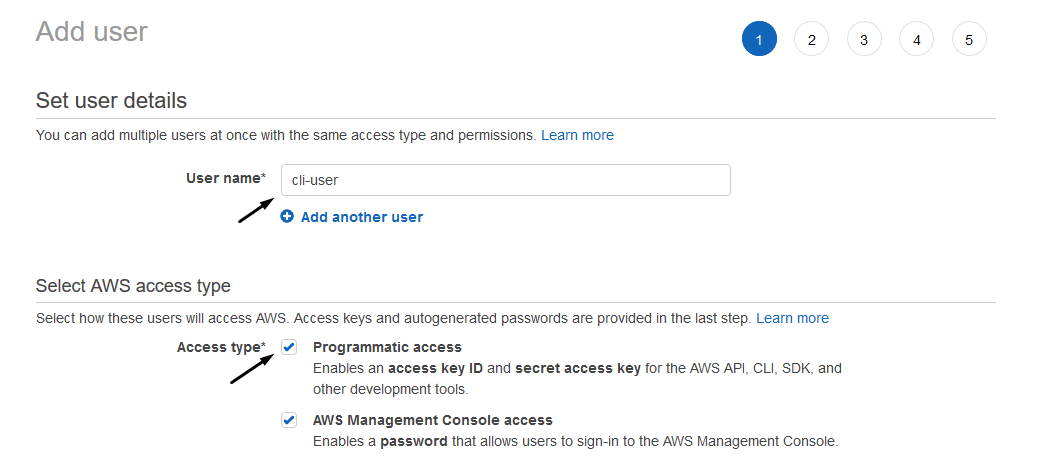
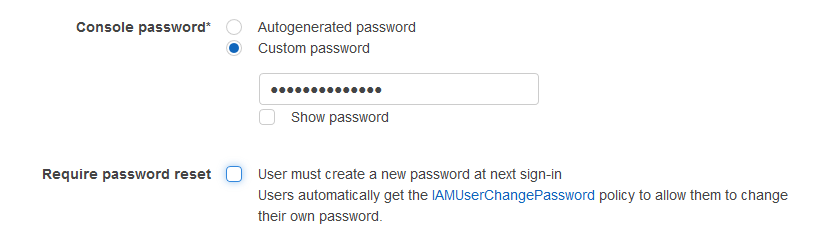
Next, you can either specify a console password right now or later as stated in the options. I’ve specified a strong password right away. Let’s proceed.
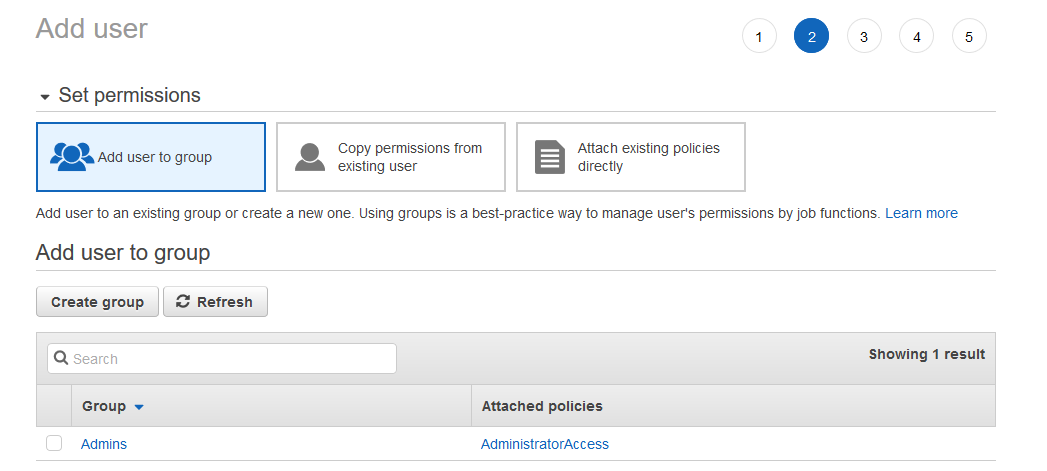
Next, you can add your newly created user to a group. Groups allow you to bundle up permissions and easily assign them to a new user. Conversely, you can easily remove them as well. Simply remove the user from the group and the policies are long gone. Anyways, I’ll be adding my user to the Admins group as I’ve already set that up.
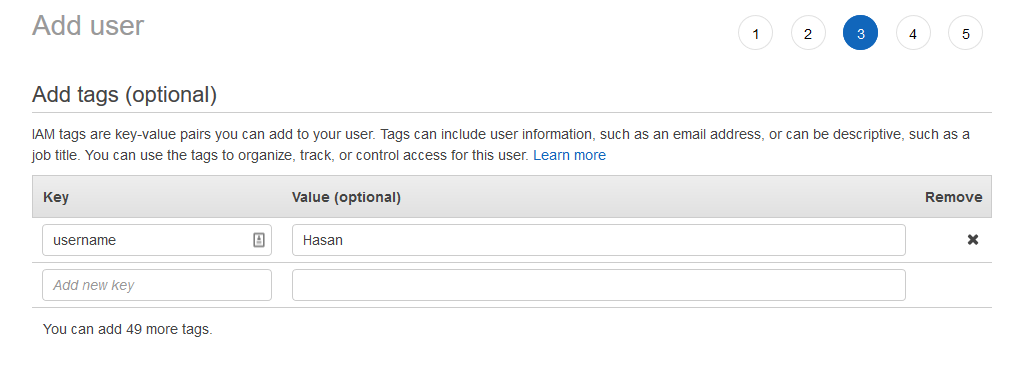
Next, add tags if you have any. These are valuable pieces of information which can help you identify your users or why they were created.
For the final step, you’ll be reviewing the information you’ve just entered. Simply press ‘Create User’ to create your user in an instant. There you go, here’s our brand new user, the access key, and the secret key - we’ll use this.
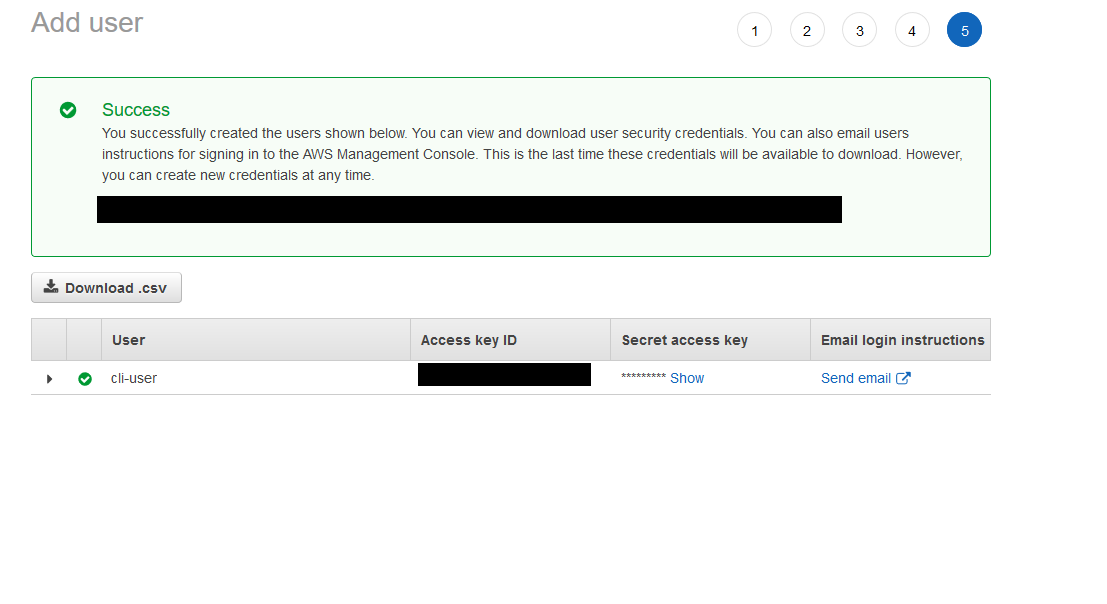
Just to make it clear again - the secret key will only be available to you once. If you don’t save it instantly, it’ll be unavailable. So, for safe-keeping purposes, download the CSV file and save it somewhere safe and secure.
Copy both the access key and the secret key, and let’s head back to the console. Enter your access key and secret key when asked for. Here’s more information on the last two fields:
- Default Region: Choose which region you want to use as your default. You will need to enter the region code, e.g. ap-southeast-1 for Singapore (which I’m using actively)
- Default Output Format: This defines how responses from AWS will be displayed. JSON, Text and Table are available. Choose JSON.
Testing your Credentials
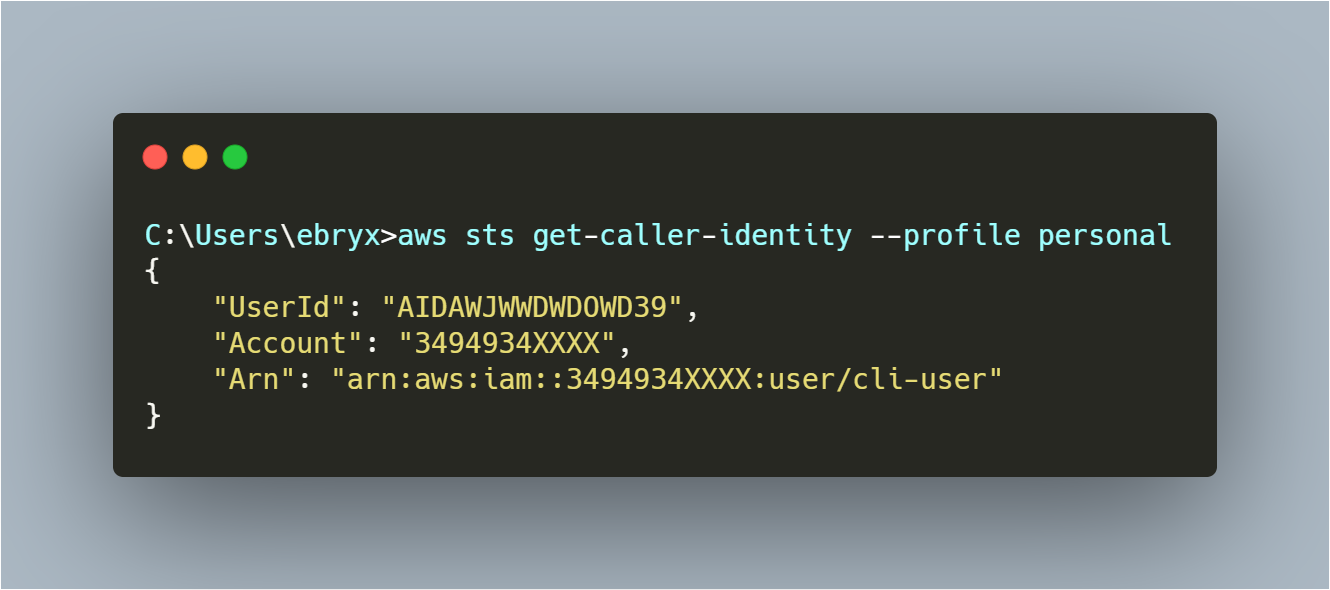
There ya go - your profile is all set up. Before you hastily move on to running some dope commands, let’s validate your profile. Here’s a command you can run to test that out: aws sts get-caller-identity –profile personal
You will be shown your User ID, your account information, and finally your ARN.
That’s it. You’ve setup your AWS CLI user! Woohoo!
Making use of the AWS CLI
There’s load of options available for you to make use of. Simply enter aws help on your command prompt to get a list of commands you can execute.
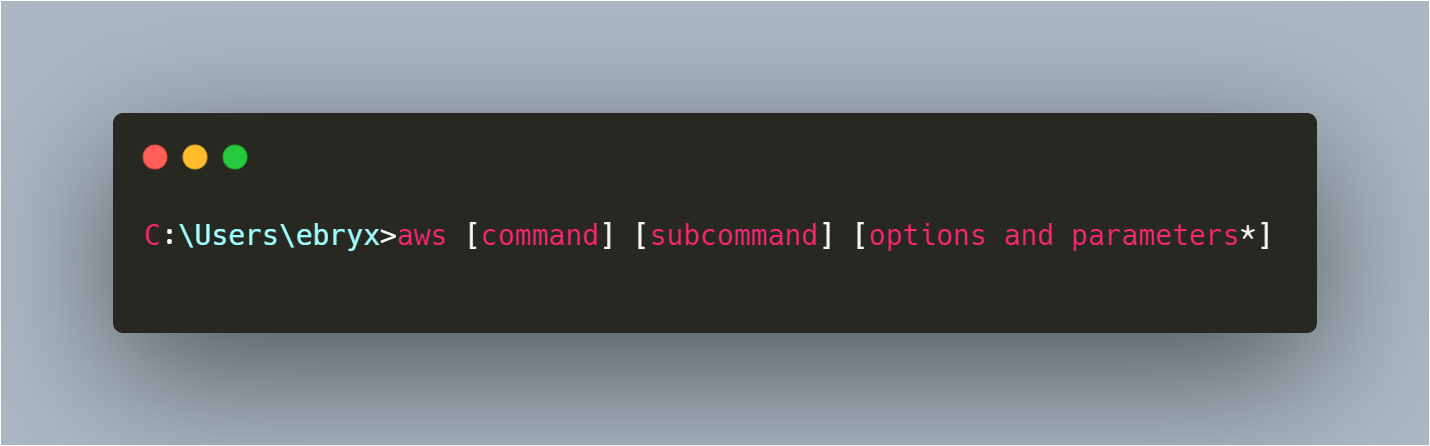
Here’s the general format of an AWS CLI command:
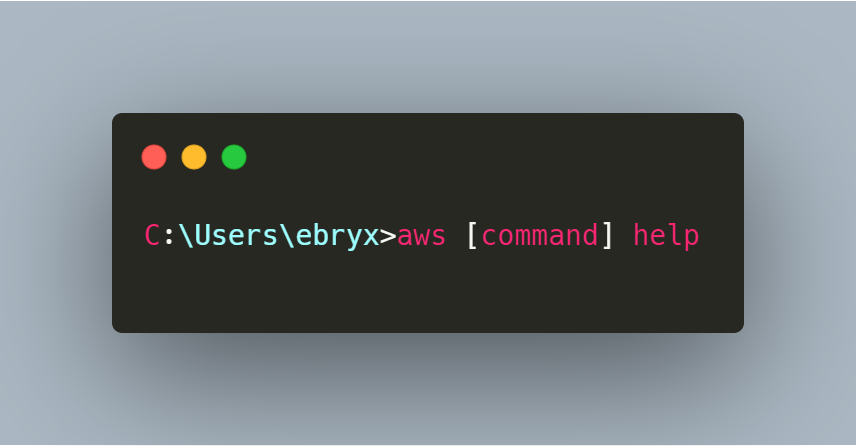
If you need help against a particular command, simply run:
Example Commands
Let’s say you want to list your buckets in S3. You can run the command aws s3 ls to get your bucket list.
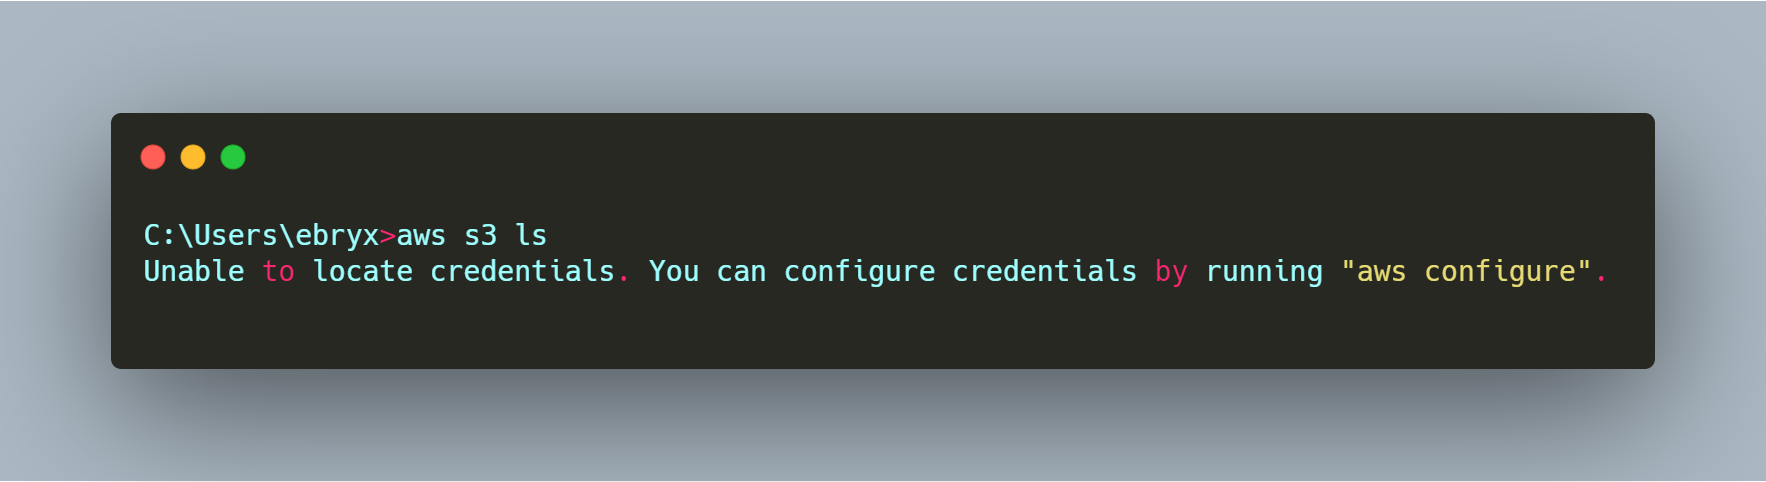
Oops, that doesn’t seem to work. What’s the issue here?
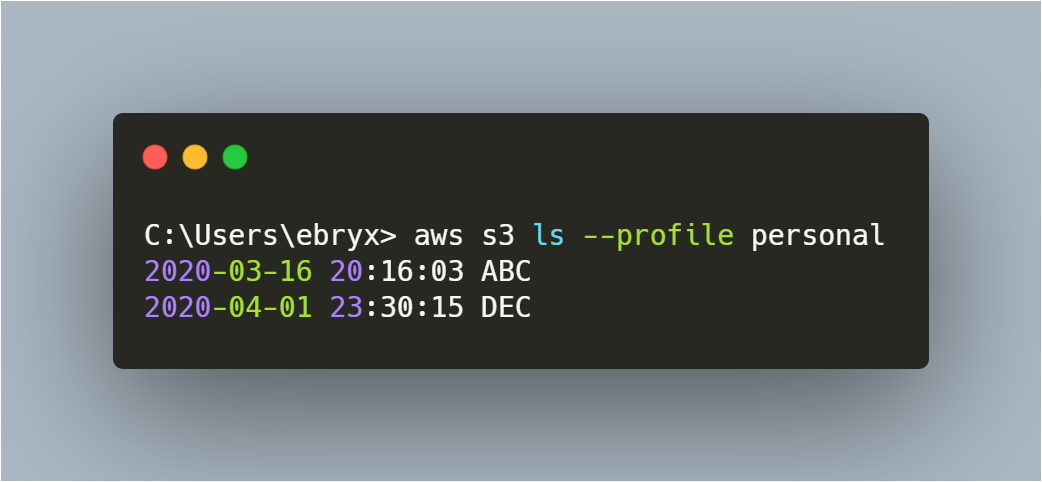
Well, we didn’t run ‘aws configure’ with the default profile. We ran it with our ‘personal’ profile. So, whatever commands you’re going to run, it’s going to need the ‘–profile personal’ parameter with it. Let’s retry our command:
Let’s run the ‘cp’ command to copy a file from our local directory to the S3 bucket we’ll specify. Here’s the command for that:
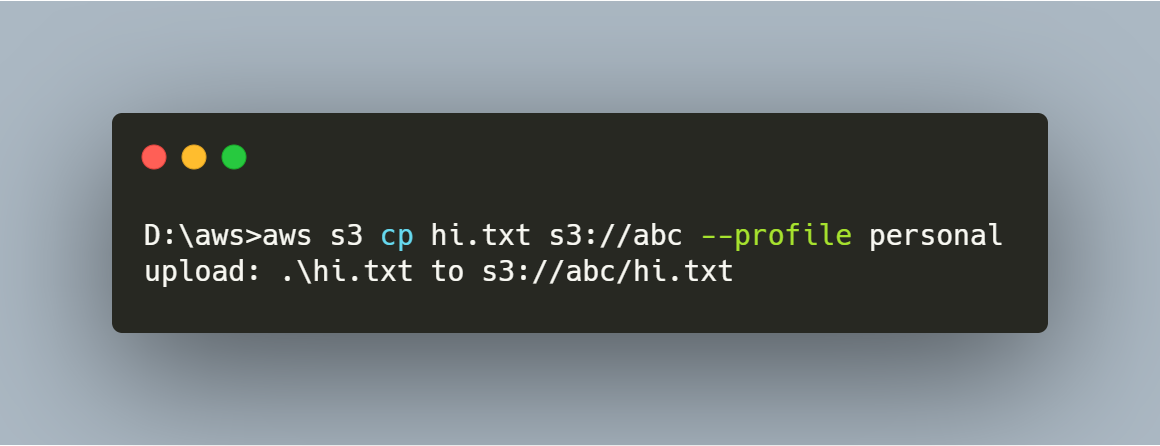
It shows we’ve just uploaded the file successfully - so you’re done with that! You can head over to your S3 bucket to verify the presence of the file. Similarly, use the sync command to run sync all local files with the bucket (or vice versa, simply shift the source and destination parameters)

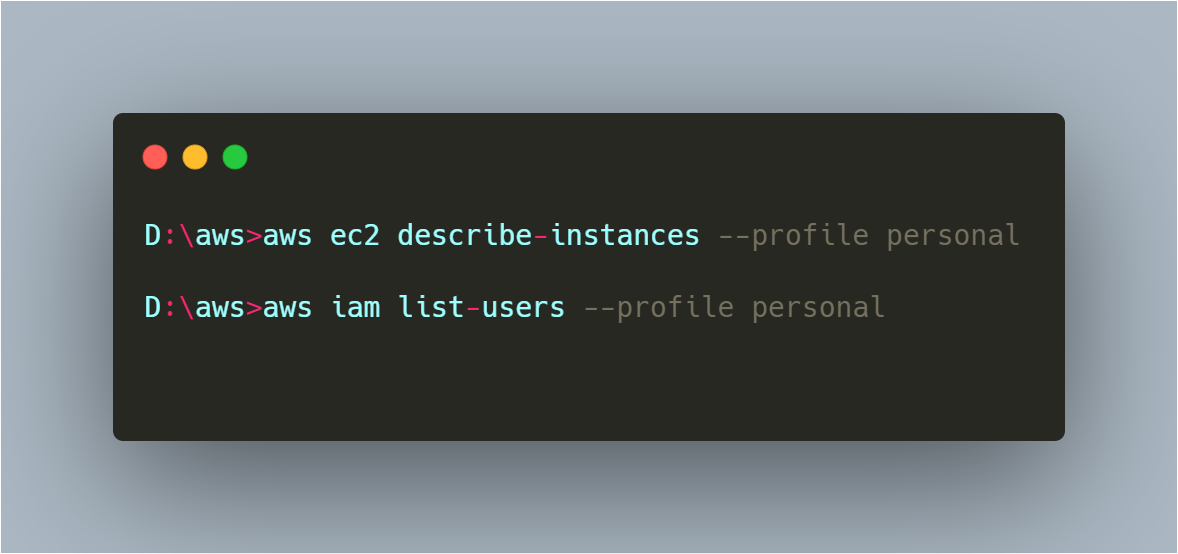
Here are a few more commands you can run (this is just a small subset, the actual command listing is HUGE!):
A Little More Help
We’ve just seen how to run a few commands using the AWS CLI. To get the actual list of commands you can use with the AWS CLi, refer to the documentation by AWS itself. It’s quite extensive and covers every single command (with a helpful search bar!). aws-cli-help
Similarly, if you’re looking forward to installing the CLI on your MacOS or Linux, you can use this link: aws-cli-install-unix and aws-cli-install-mac
That’s a Wrap!
Thanks for following my blog guys. This is it for today. If you liked it, feel free to leave me a message. If you dislike something, have a feedback, corrections, or anything else - feel free to reach out to me on my mail, GitHub, or Twitter. It’s all linked on my page!
Have a safe few days and enjoy!